Friday, 1 April 2016

Cladding drivers side

Glued the frame in and left it for 24 hours to dry.
Took all the props down and it stayed up, so that's a good sign!

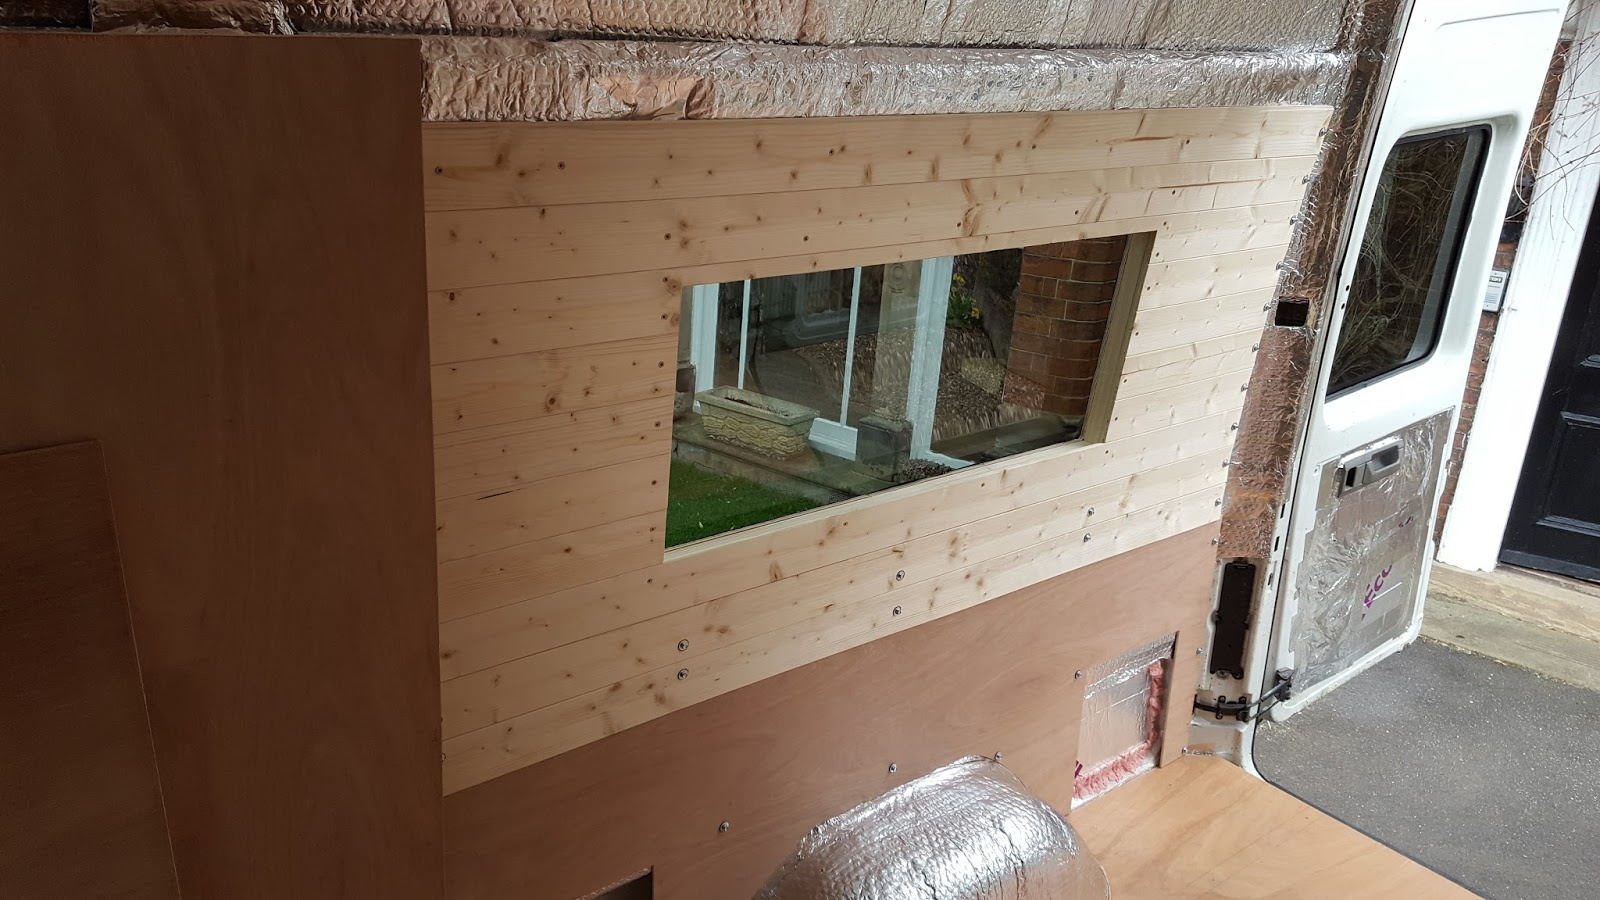
Added the additional frame again to make it level with the wall, then started to glue the celotex.

Exactly the same process as the last window so wont go into it to much!

Here's the result, I am seriously pleased.


The wall near the drivers seat isn't attached yet as I need to put some conduit into the bit near the window first. This will be used to route the 12v supply to the other side of the van.

Tuesday, 29 March 2016

Let there be cladding!

Starting to do more and more things I'm uncomfortable with now. One of them is working with wood! I vaguely remember some of woodwork at school but since then I have literally done nothing.
So I am winging it and so far I'm actually quite pleased with how I've got on.

Today's job was to remove the props for the window and start attempting some cladding.

I'd already measured and cut some of the cladding but I had many small obstacles to overcome.

The first task was to start fitting the Celotex between the battens:


This was all well and good but the battens weren't quite deep enough for the cladding to line up perfectly with the actual van wall. This meant I needed to add another frame on top. This in turn would mean the gap between the cladding and the celotex would be even greater. This would mean the cladding would have a fair bit of give.


I fitted some more batten around the frame so it matched perfectly with the van wall. I also decided to fill the gaps with thick folded cardboard. This stops any give in the cladding and also means I can remove it if I need to fit any sockets or anything else.

With the frame up, I made a start on the cladding, first starting off with the ones I'd already cut:


I made the right side up to the same height but then realised I'd made a slight miscalculation. The cladding was supposed to start at the top, leaving a couple of centimetres overlap on the window. This overlap will hold the curtain wire/rail, as I want it hidden so the curtain is within the frame.
I therefore had to adapt the next bit of cladding by cutting it with a jigsaw.

Here's the top of the window being made:


Once I had that in place, I fit the last couple of pieces and hey presto! I am seriously chuffed with the outcome. I need to go over it with a sander and obviously varnish it but for now I'm happy! Where the cladding ends, the kitchen will start. This will have a ply wall behind it hence no cladding here. I was thinking of tiling on top of the ply also.


Monday, 28 March 2016

OoOoOooo Ahhhh Mother should I build the walls.......

So with a nice long bank holiday weekend I thought I'd manage to get plenty done.
Well the weather had other ideas, so basically I've only managed to get a couple of days in (including today).

I managed to sort a bit of the floor which had a bit too much give. I basically put a thinner bit of ply underneath it and then screwed the whole thing to the metal floor, making sure not to hit anything important underneath!

Then I moved onto the ply part of the walls.
I measured where I wanted these coming up to by using the height of the bed + cushions etc. You should be able to see any of the ply once everything is in. The only time you will is when the seats are turned into the bed (moving the side cushions).

Anyway, I nipped to the wood yard and got some 6mm thick ply cut to what I needed and also one extra whole piece to cut the wall part behind the drivers side later on.
I spent quite some time measuring and measuring again and drawing exactly where all the cuts needed to be made. The wheel arches where a right pain in the arse!

Once I had everything cut, I screwed it all in using self drilling metal screws. I had to figure out where the screws would go before the ply was up, this was due to most of the wall being insulation rather than metal. So in order for it to actually stay in place, I needed to find the metal parts!

Here's the outcome:


The holes you see on the drivers side wall are for the Mains Hook-up consumer unit (rear) and the water heater (front). These will need holes cutting in the side of the van!

I then managed to get some of the cladding put above the ply, this again was awkward due to having to find the metal to screw into. I had to use the self drilling screws which I may end up changing because I don't like how they stick out from the cladding, even though I countersunk the washers.
No pictures of this bit but you can see it in the pic coming up.

Today, I started fitting the internal window frames. I had to nip to screwfix and wickes to get some extra battens and black sikaflex so you wouldn't see it through the window. I had to cut all the battens to size, to use them as props whilst the sealant dried.
I then went around the entire window trim and metal frame with Sikaflex and put the frame in.

Climbing out of the van was like something off Crystal maze! I was half expecting Richard O'Brien to shake my hand when I actually got out!! It's currently outside curing (fingers crossed) so we will see if it holds once dried!