Friday, 1 April 2016

Cladding drivers side

Glued the frame in and left it for 24 hours to dry.
Took all the props down and it stayed up, so that's a good sign!

Added the additional frame again to make it level with the wall, then started to glue the celotex.

Exactly the same process as the last window so wont go into it to much!

Here's the result, I am seriously pleased.


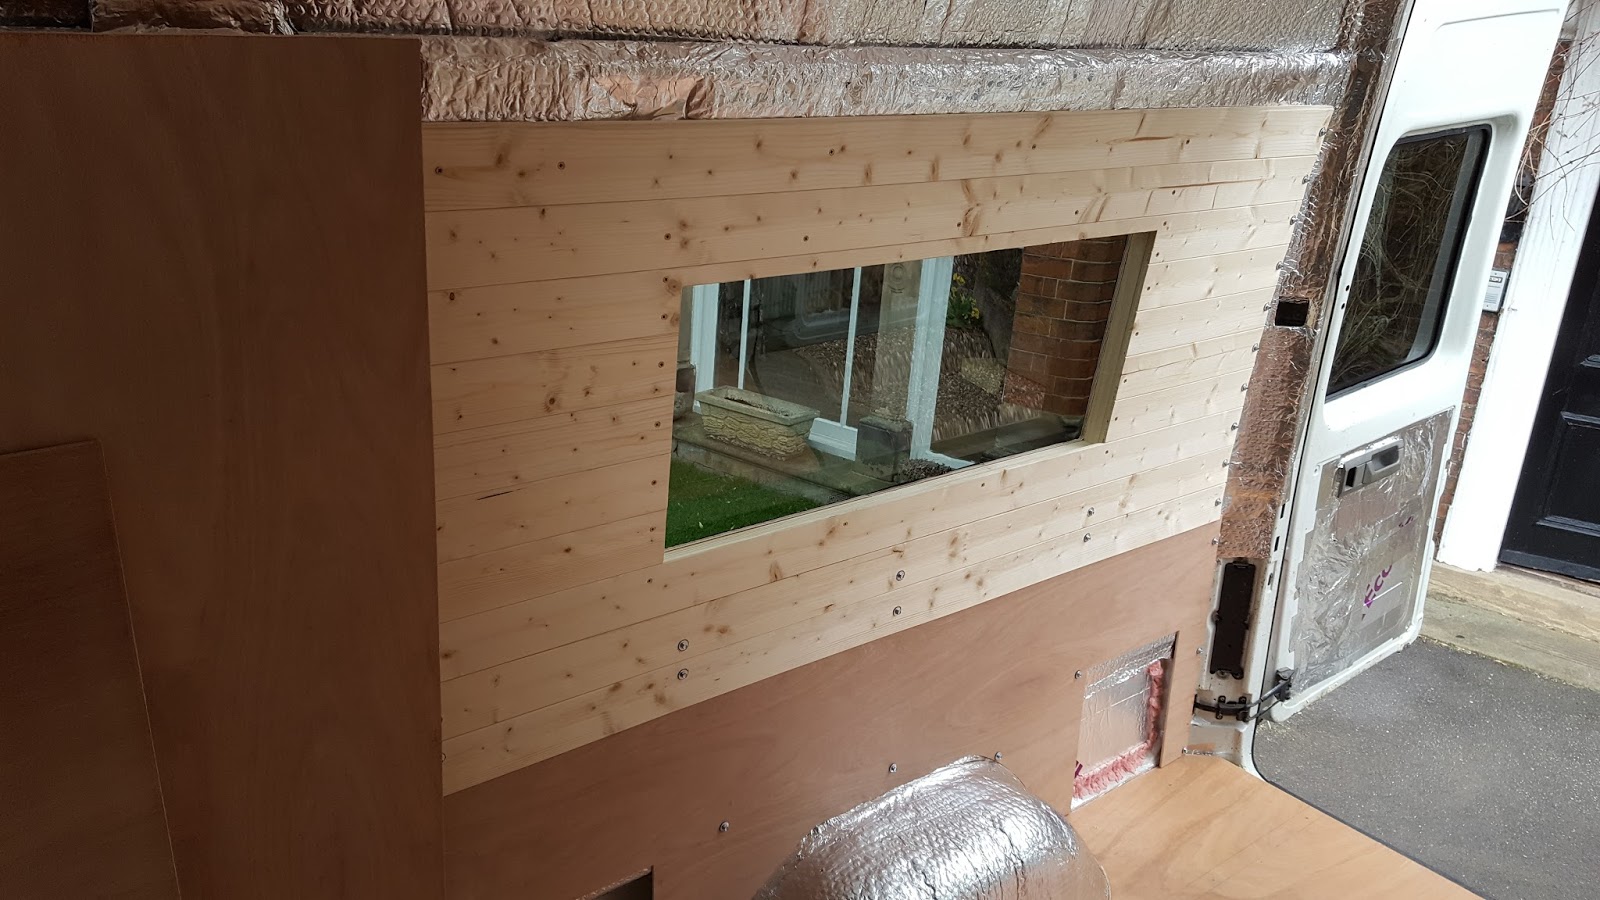
The wall near the drivers seat isn't attached yet as I need to put some conduit into the bit near the window first. This will be used to route the 12v supply to the other side of the van.

Related Posts:

  • Flooring + RooflightWell after a bout of man flu, which slowed me down somewhat, I finally managed to get a few things done this week. Firstly, I removed the second sire… Read More
  • Let the building begin...Has been a tough few days trying to get my  head around how to build the first seat box. I made several mistakes along the way but I think I got … Read More
  • A busy sunday...Today was spent working on the van, cleaning it and ripping out old Police stuff that wasn't needed. I even had a helper today! Kim cleaned the doors… Read More
  • Framing the inside windowsSo.. been busy this evening! I wanted bonded windows as I like the look of the flush big windows from the outside. However, these windows seem massiv… Read More
  • Preparation has started!Here's a picture of where I currently am with getting the van back to it's basics in order for me to make a start on converting it: As you can s… Read More

0 comments:

Post a Comment